|
INTEGRATED CASE STUDY: THE FIU WELLNESS CENTER
The purpose of this integrated case is to develop 8 solutions in MS Office that relate to the FIU Wellness Center. Each exercise describes a specific task for the FIU Wellness Center and combines Word and Excel, PowerPoint and Excel, Excel and Access.
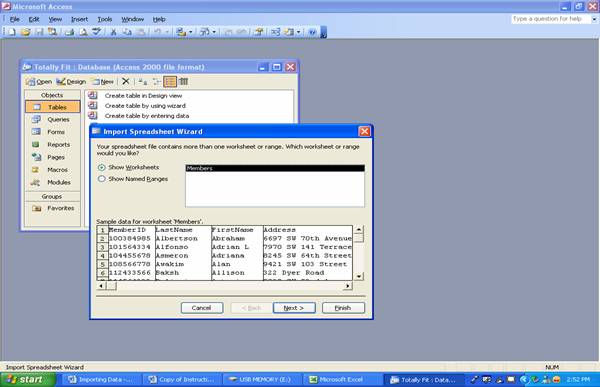
Your assignment is to follow the directions of solutions 5-8. 5. Importing Data (Access and Excel): The FIU Wellness Center database contains two tables: one for members and one for the various membership plans that the club to its members. The Plan table already exists within the Access Database. The member information, however, is in an Excel spreadsheet. Your first task is to import the Excel worksheet into the Access database, when it will be converted to an Access table called Members.
Figure 5
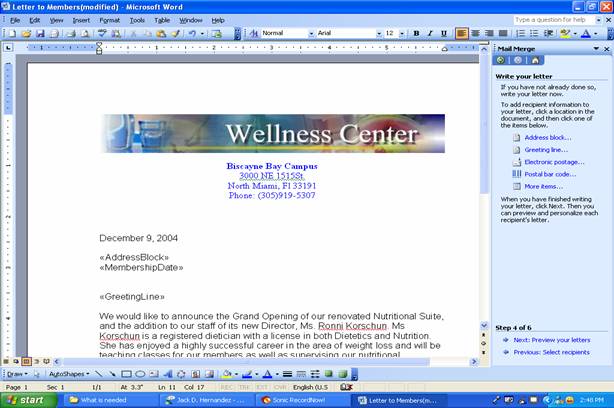
6. Mail Merge (Word and Access): This exercise uses the Mail Merge utility in Microsoft Word in conjunction with an Access Database. You will be asked to create a form letter which will be sent to a different recipients. We will start from Word. Proceed as follows: You should have already downloaded the 3300FIUWellnessMembers.xls and 3300FIUWellnessPlanid.xls documents to you Wellness Center folder and have EX. # 5 completed.
Steps_
1. Open the Letters to Members document and save it as Letters to Members Solution. 2. Pull down the Tools menu, click Letters and Mailings then click Mail Merge Wizard. Under Select Recipients, select use an existing list. Then click on Next: Write your letter. 3. On the Select Data Source window, click on Open. 4. On the Data Connection Wizard click ODBC DSN. Then under OBDC data source, select MS Access Database. 5. On the Select Database window, select the drive where your file is located. Next click on the appropriate file. 6. On the Data Connection Wizard – choose data window, select members and click next then click finish. 7. On the Mail Merge Recipients window, make sure that all recipients are selected and click Ok 8. Click on Next: Write your letter at the bottom right of the screen. 9. Click under the date on your document, DATE \@ "MMMM d, yyyy" July 19, 2006, and click Address block from the right. 10. To add Membership Date, click on (More items) on the right. On the Insert Merge Field window, select Membership Dade and click insert. Afterwards, press enter twice to insert the greeting line. 11. Click on (Greeting line) on the right. On the greeting line window click OK. 12. Click the View Merged Data on the button on the Merge Mail tool bar. This is the <<ABC>> button to the right of the Insert Word Field. Toggle between the letter, and specify the first of the three records, which is Abraham Albertson. 13. Save the completed document as ICEx 6. You will need to burn a CD when you have finished all your solutions. Figure 6
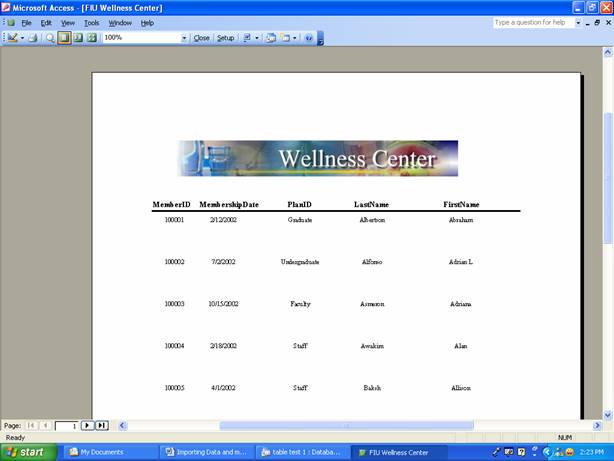
7. Access Objects: Reports (Ex 7): Open the FIU Wellness database in the FIU Wellness database and create the additional objects as described below.
Figure 7
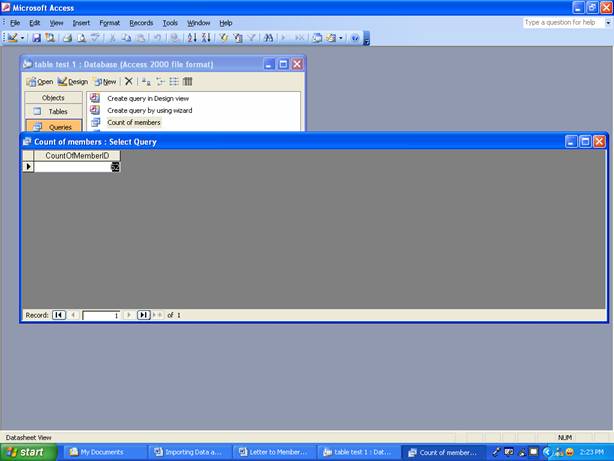
8. Access Objects: Queries (Ex 8): Open the FIU Wellness database in the FIU Wellness database and create the additional objects as described below.
Figure 8
|